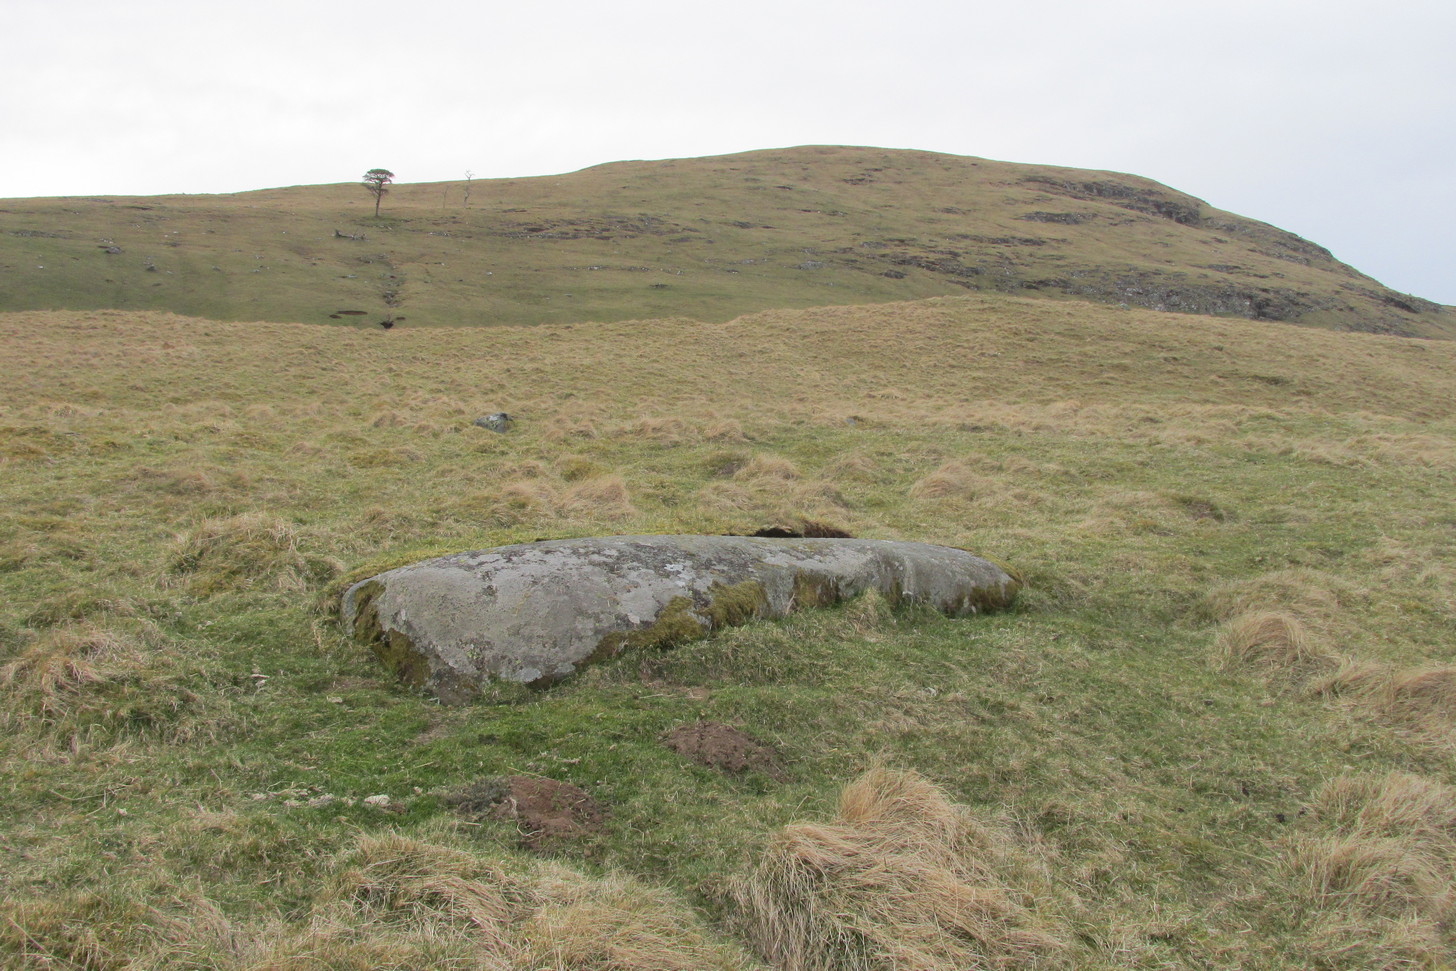
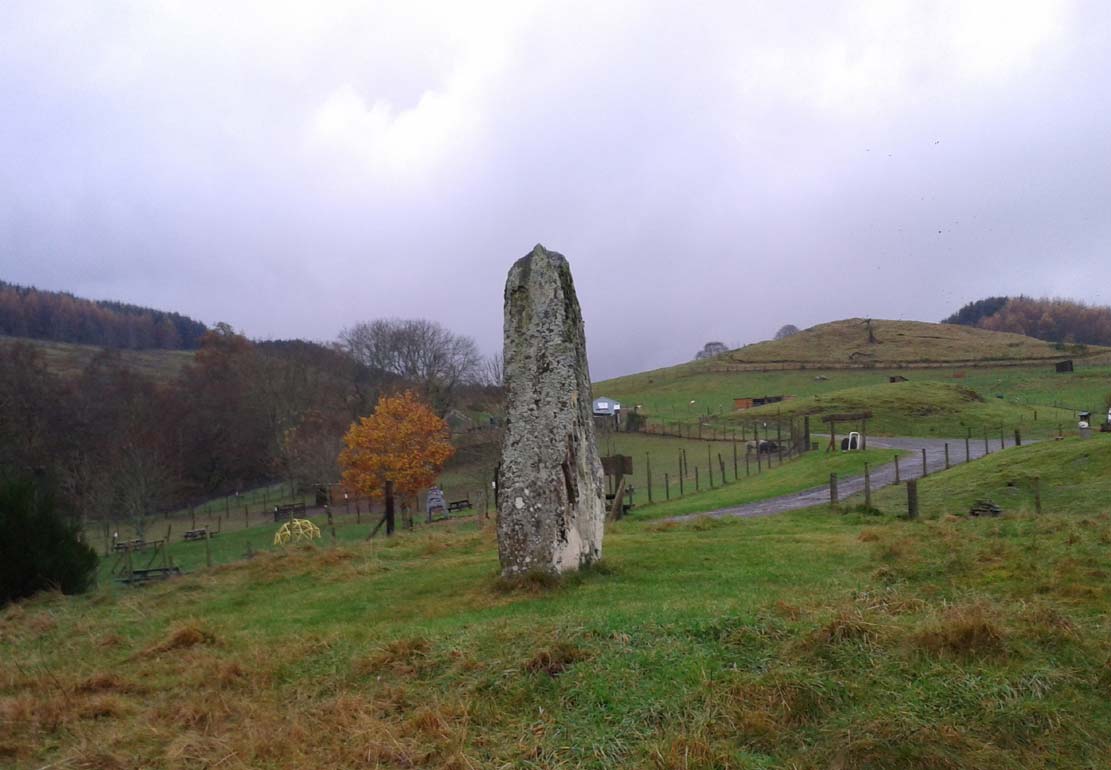
Cup-Marked Stone: OS Grid Reference – NN 65813 39268
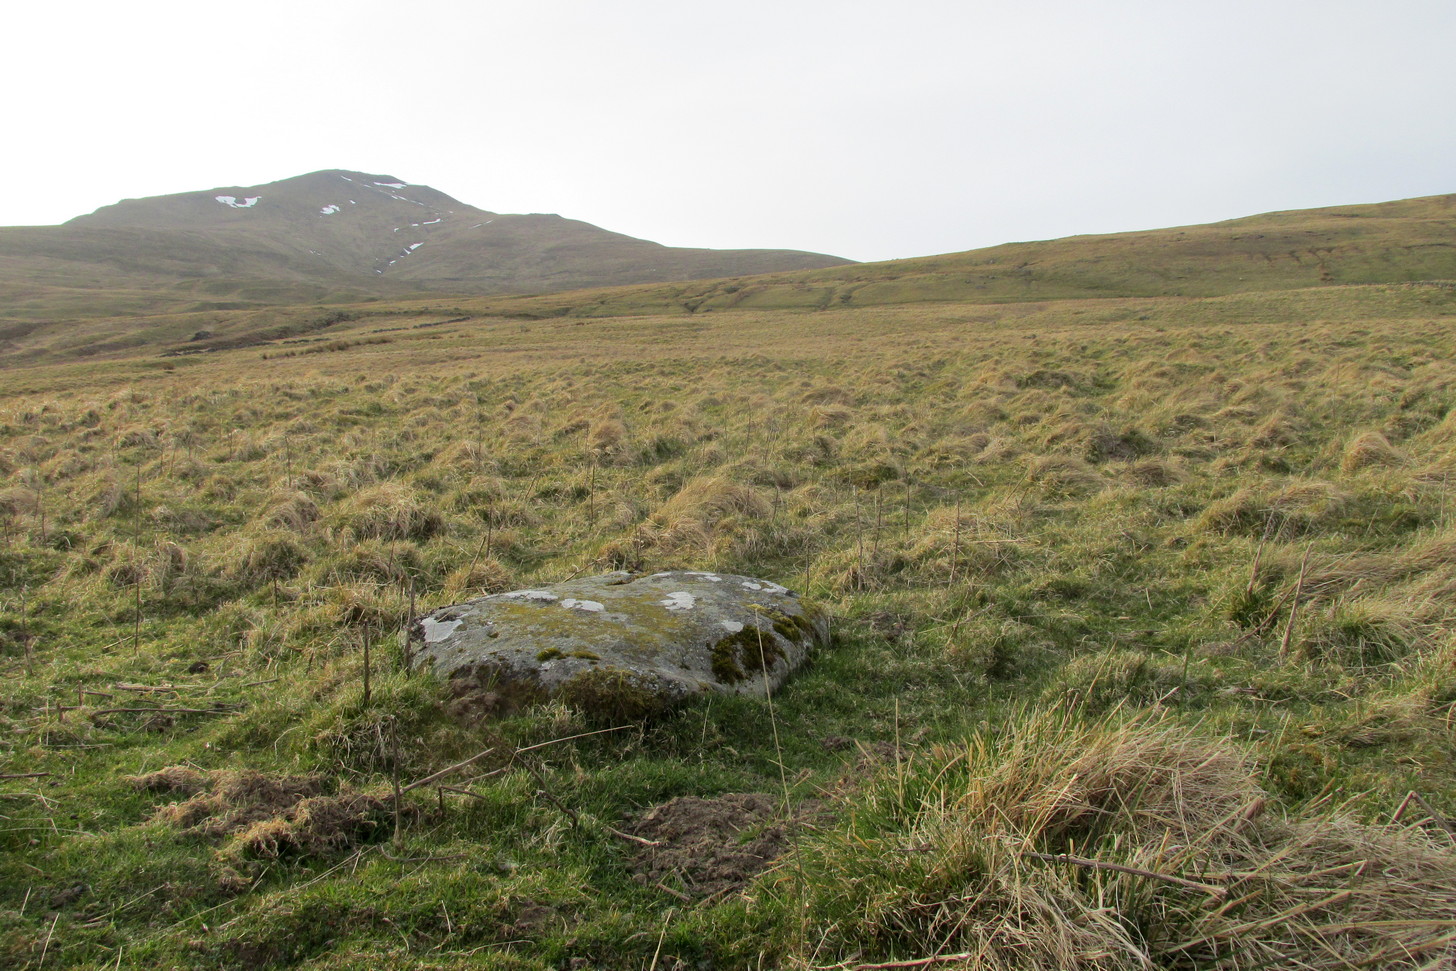
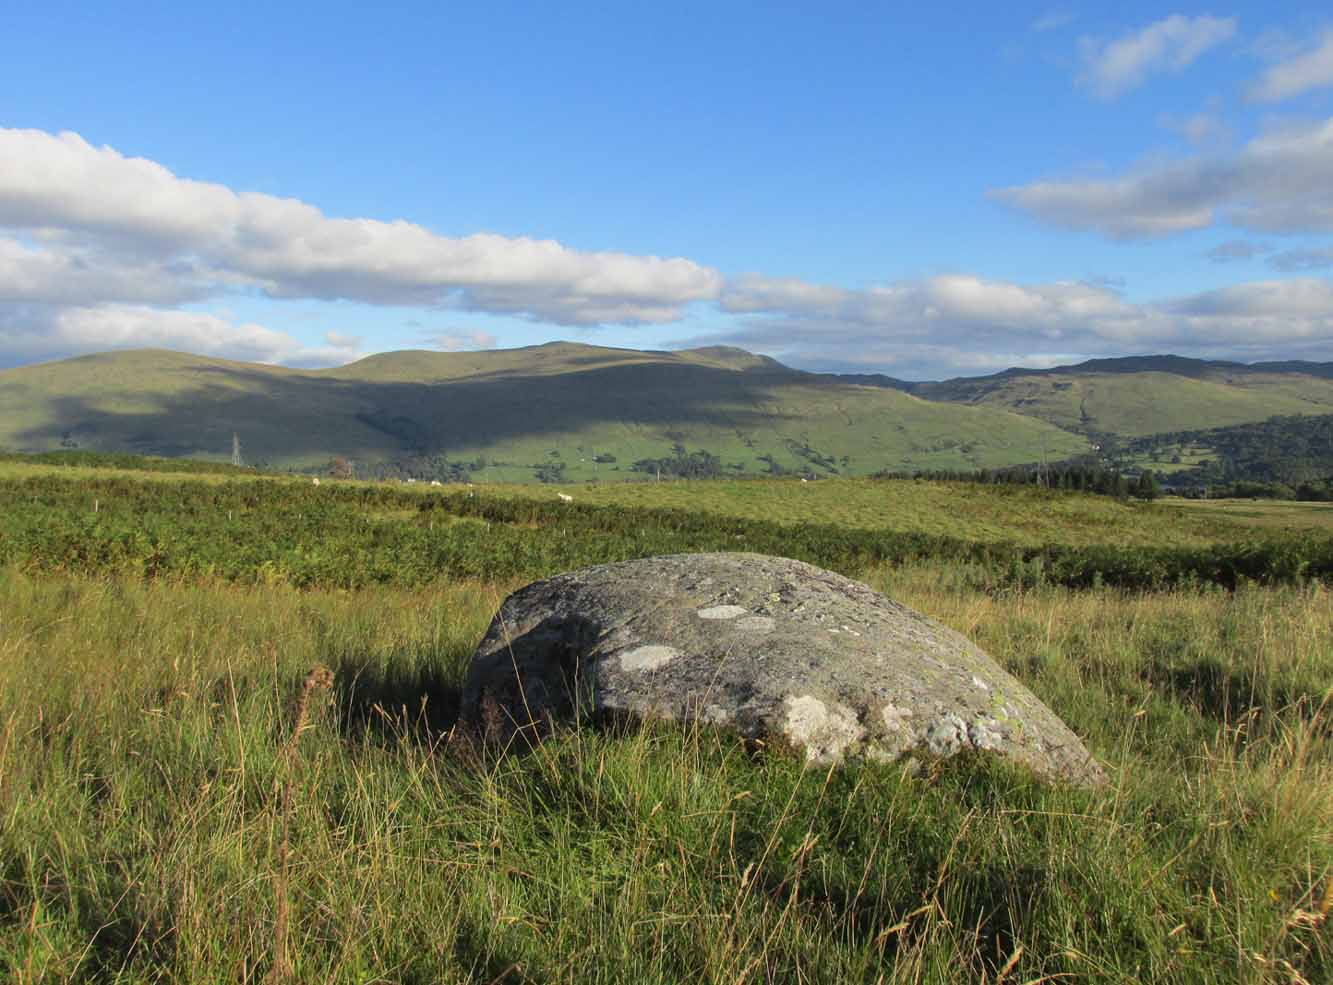
From Killin, take the A827 road to Kenmore. 6 miles along, on your right, is the track down to the Big Shed at Tombreck. Keep on the A827 for exactly ⅓-mile (0.53km), and opposite the driveway to Craggantoul is a small parking spot. A few yards on the road, over the burn, go thru the gate on your left. From here, follow the straight line of walling uphill and 20 yards before reaching Cragganester (9) carving, follow the line of fencing right (ENE) until you hit the wall more than 350 yards away. From here, follow the walling uphlil 350 yards where it turns a right-angle west. About 50 yards east of the right-angled wall, look around…
Archaeology & History
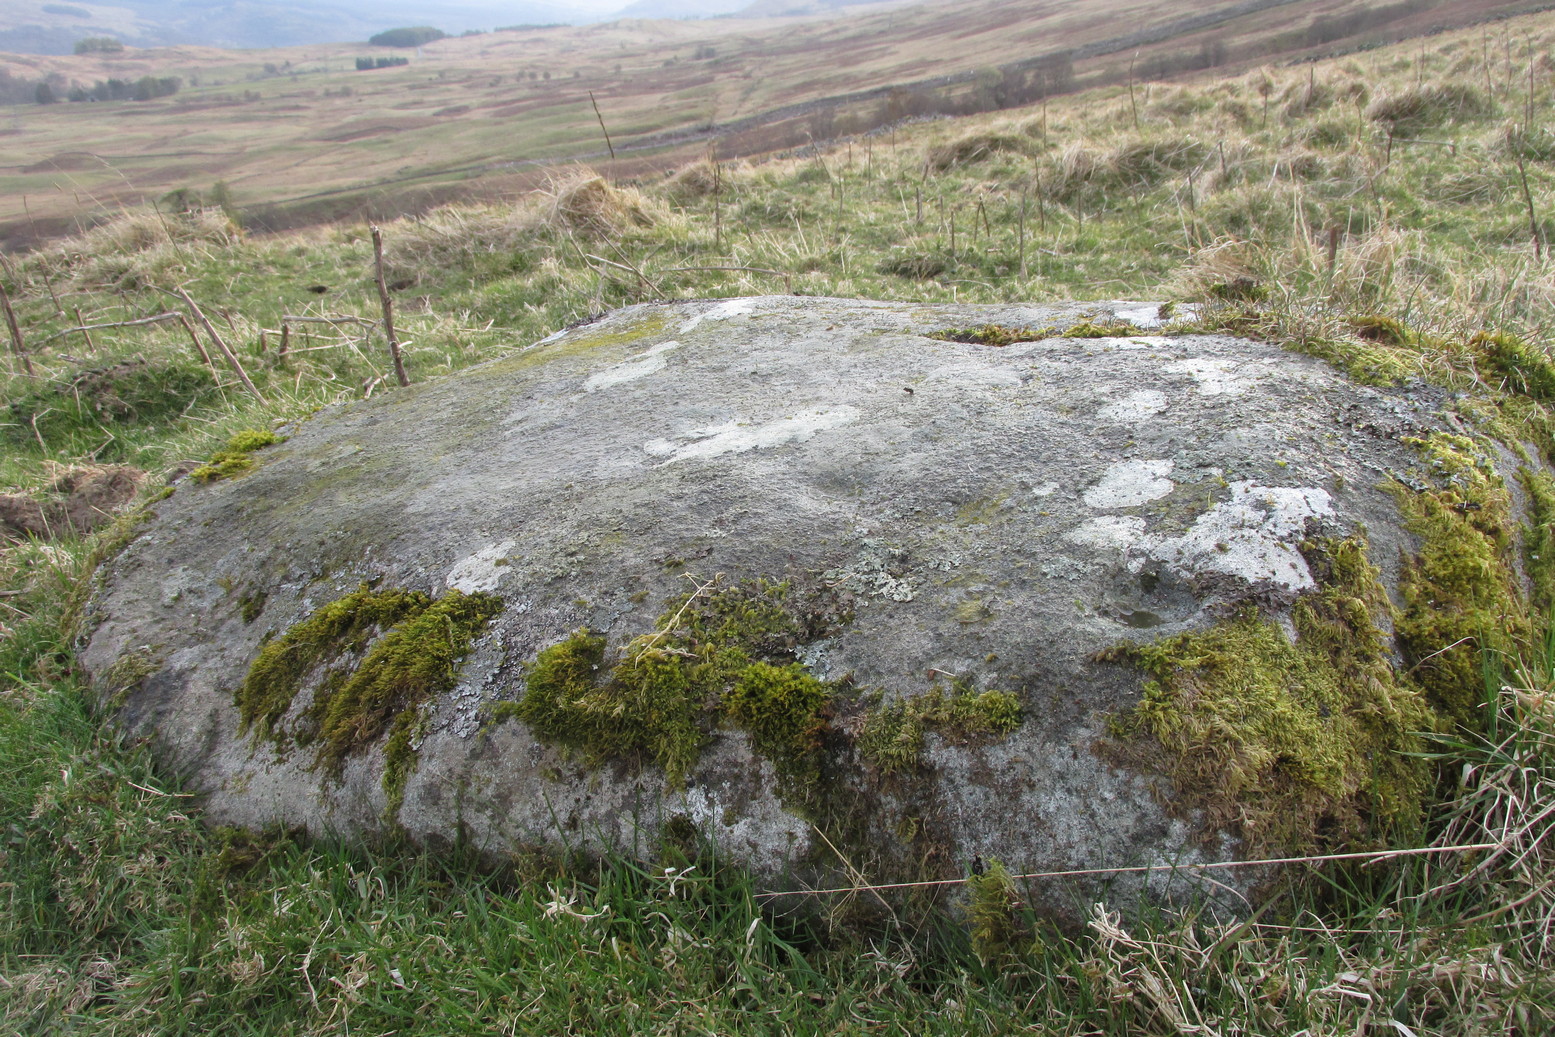
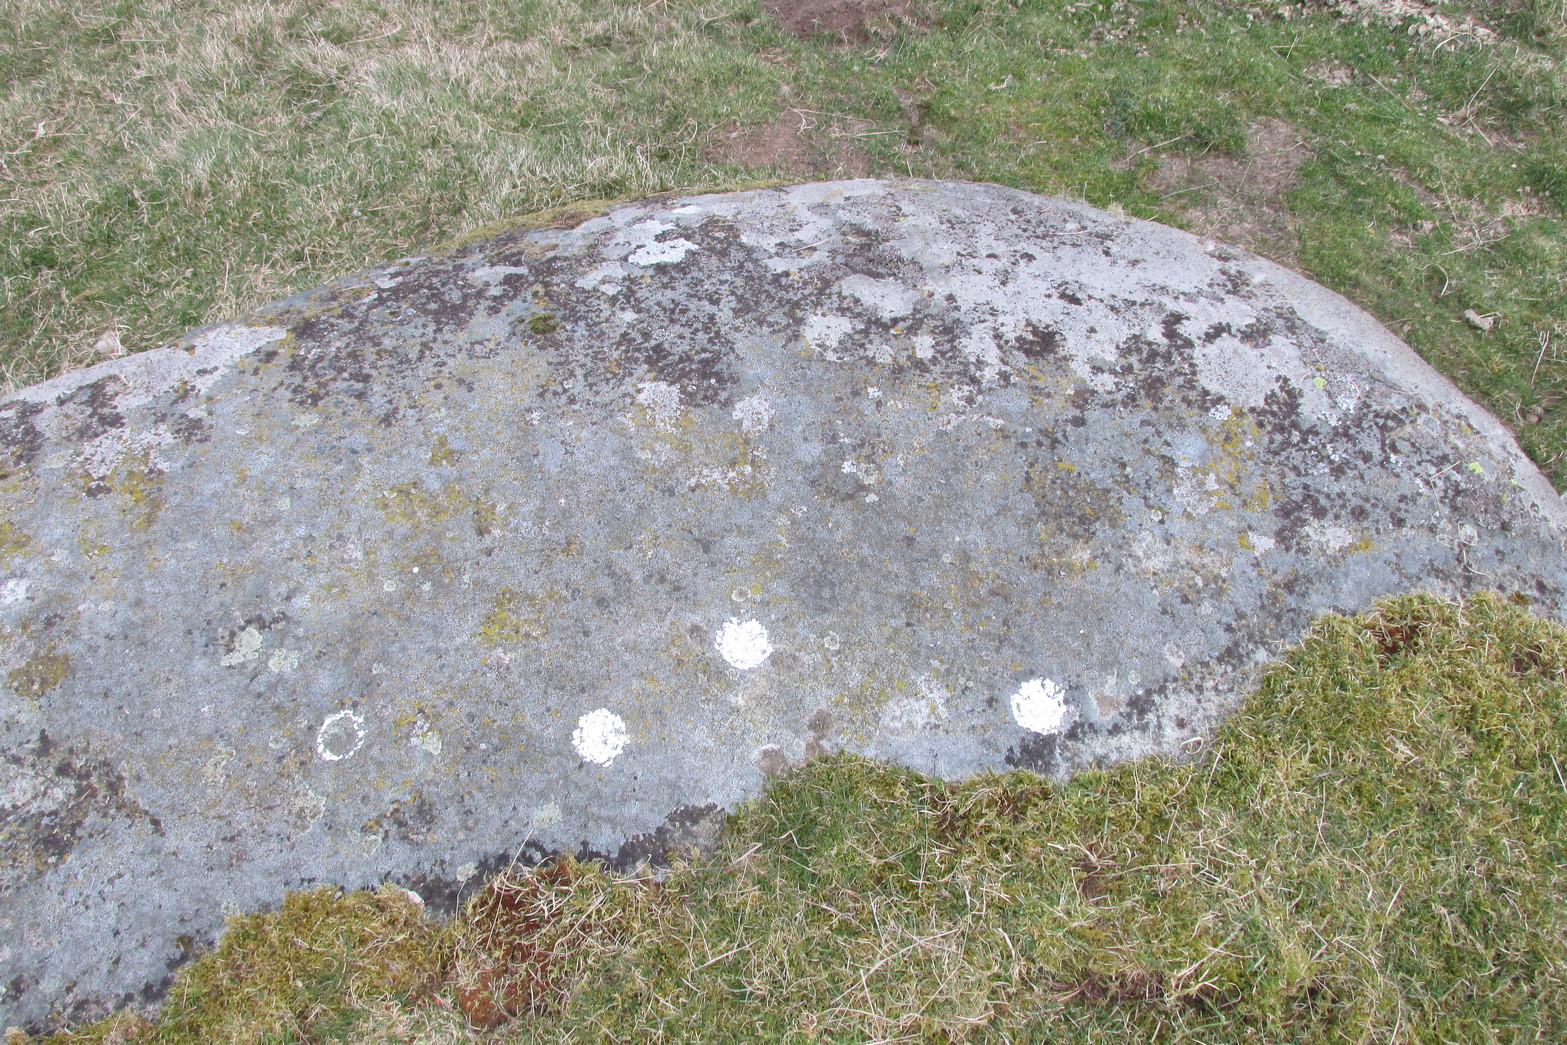
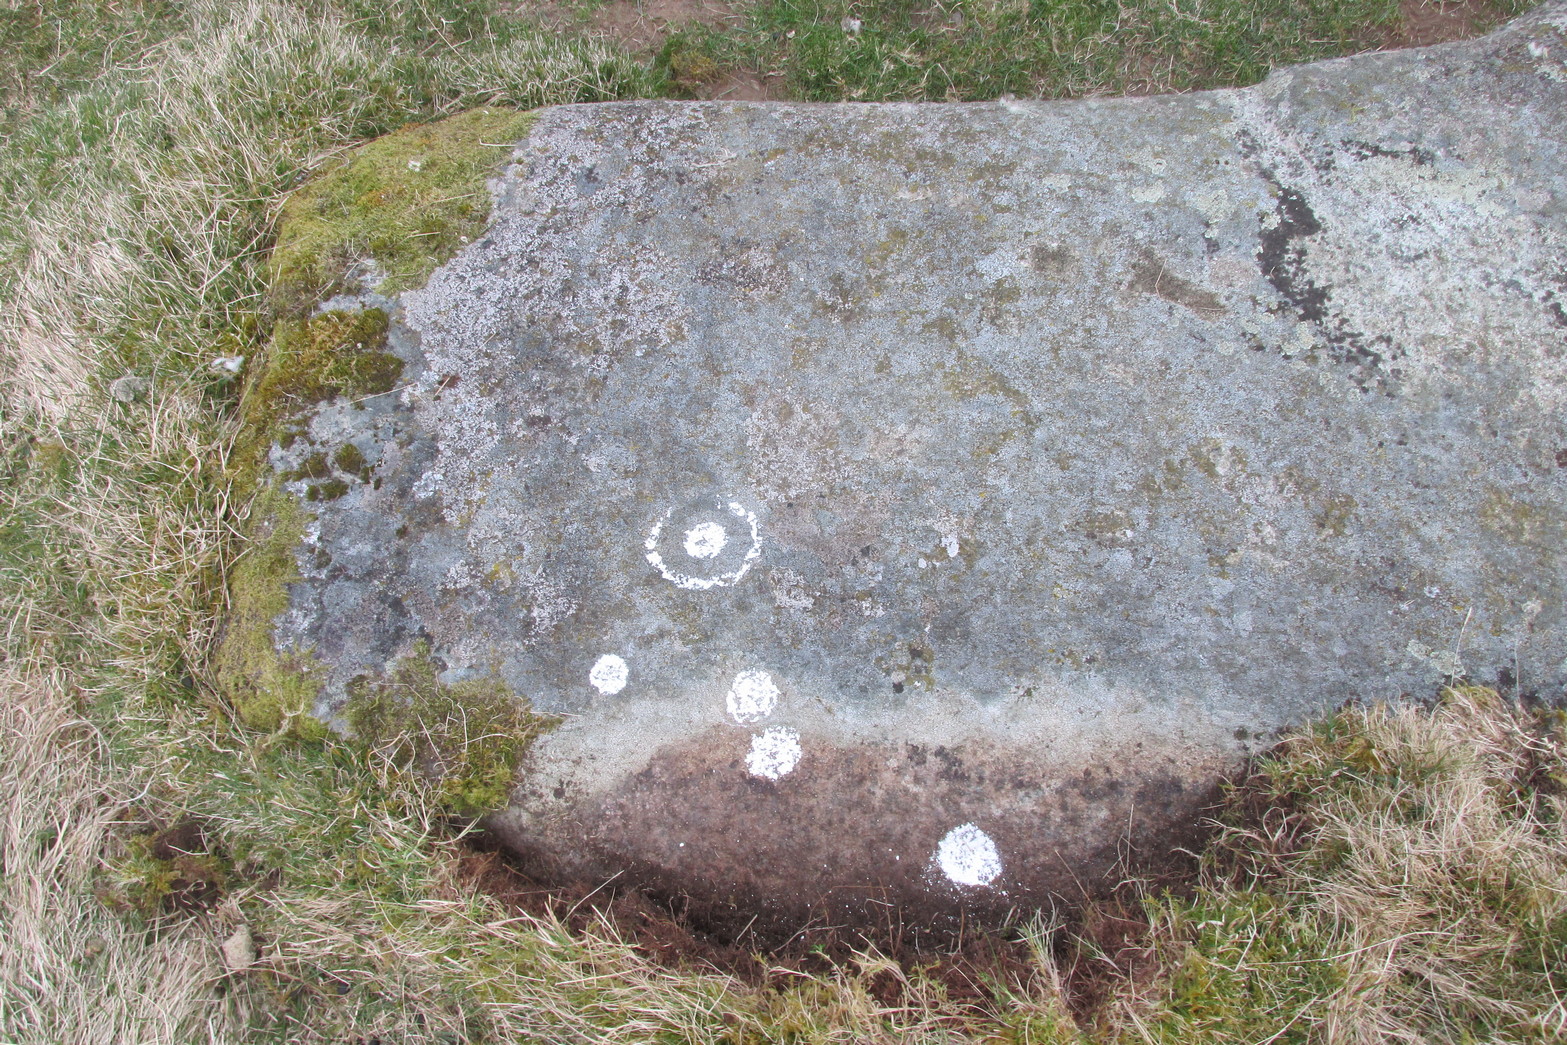
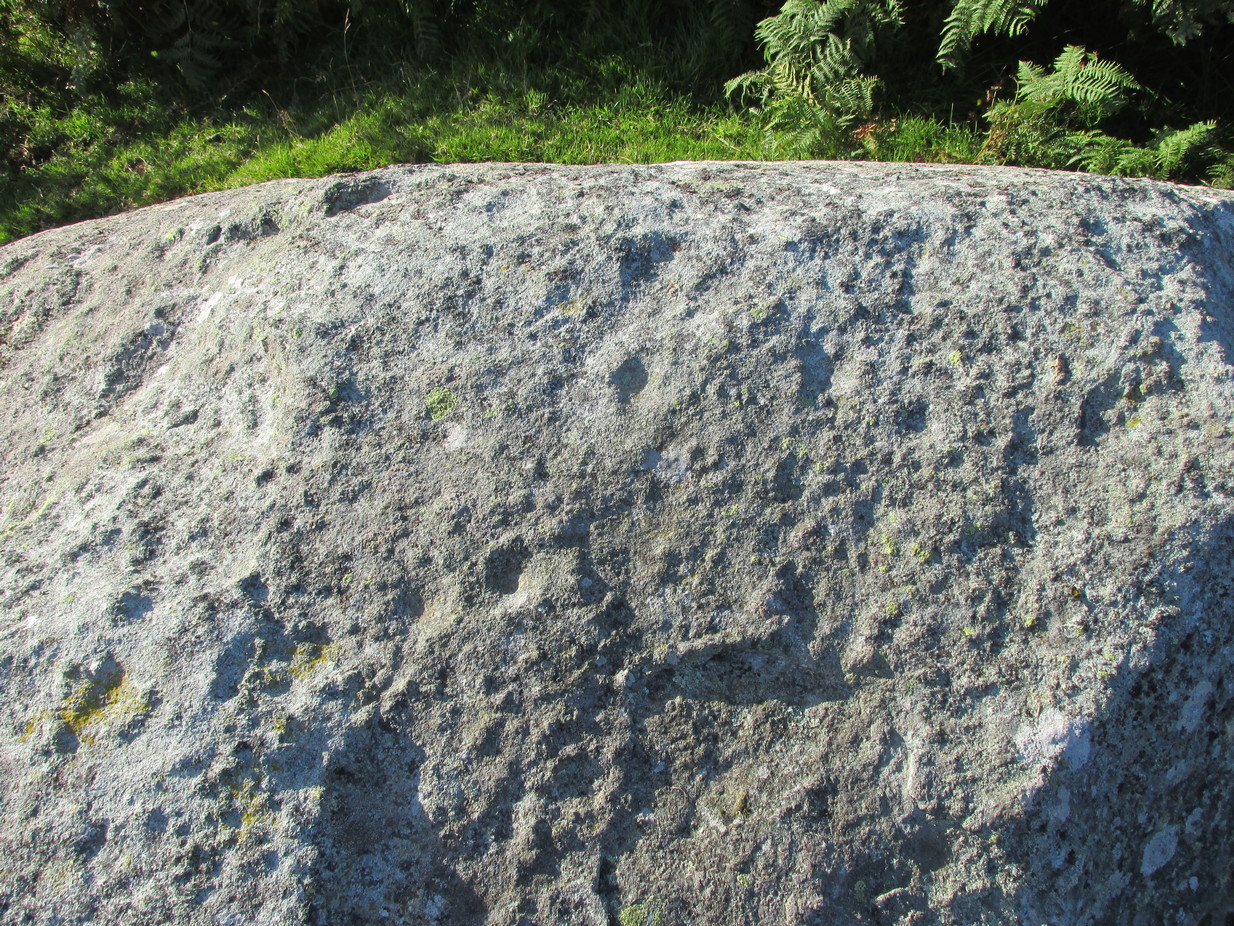
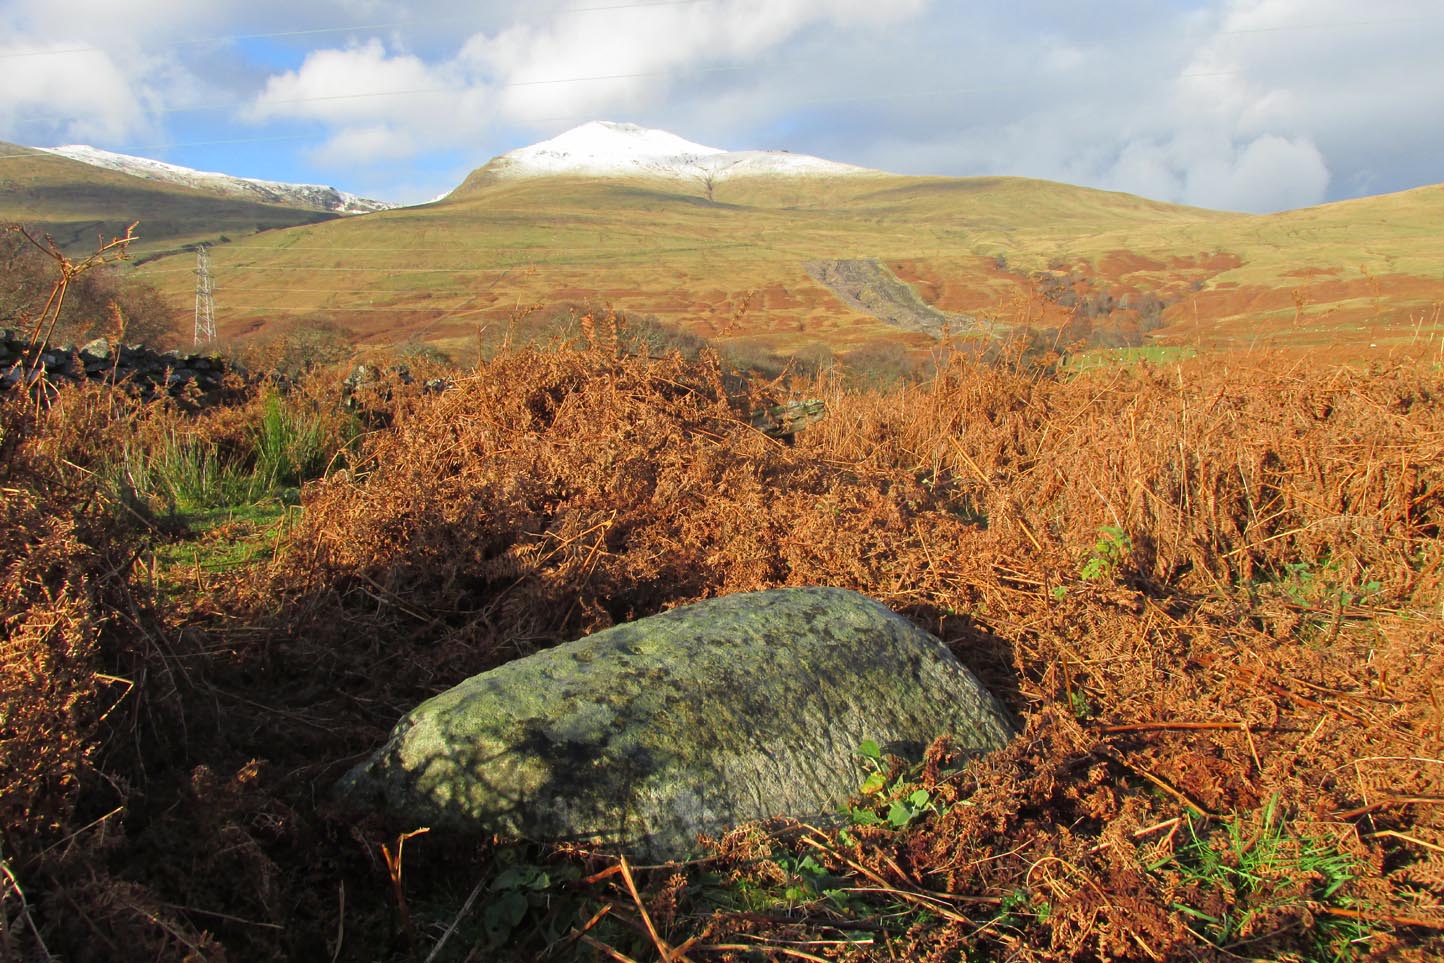
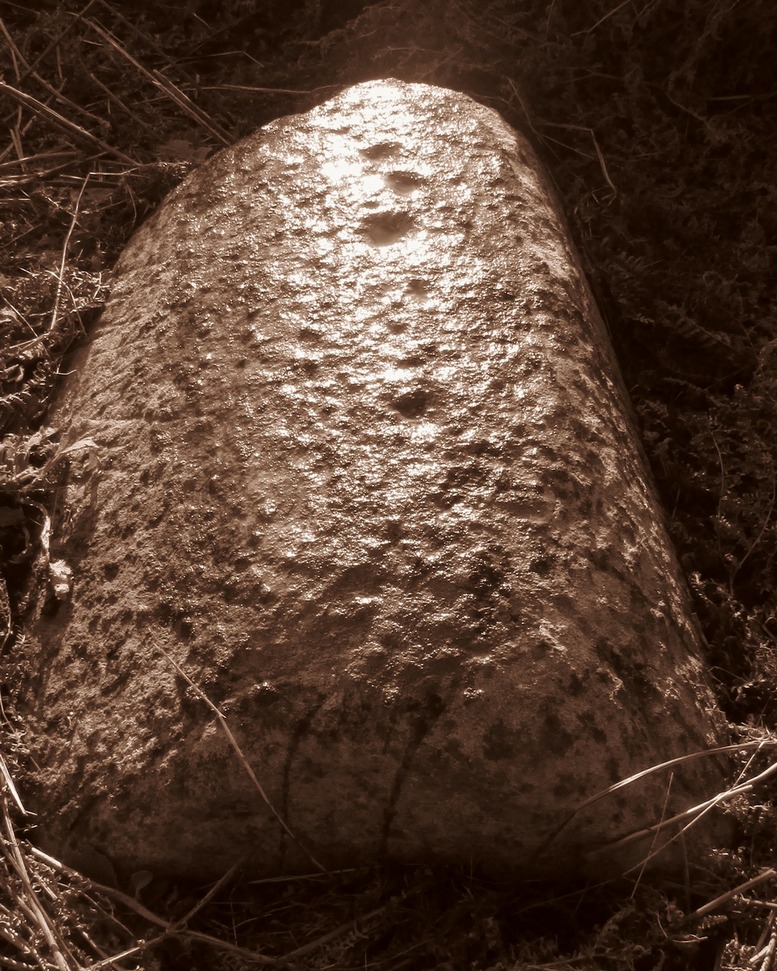
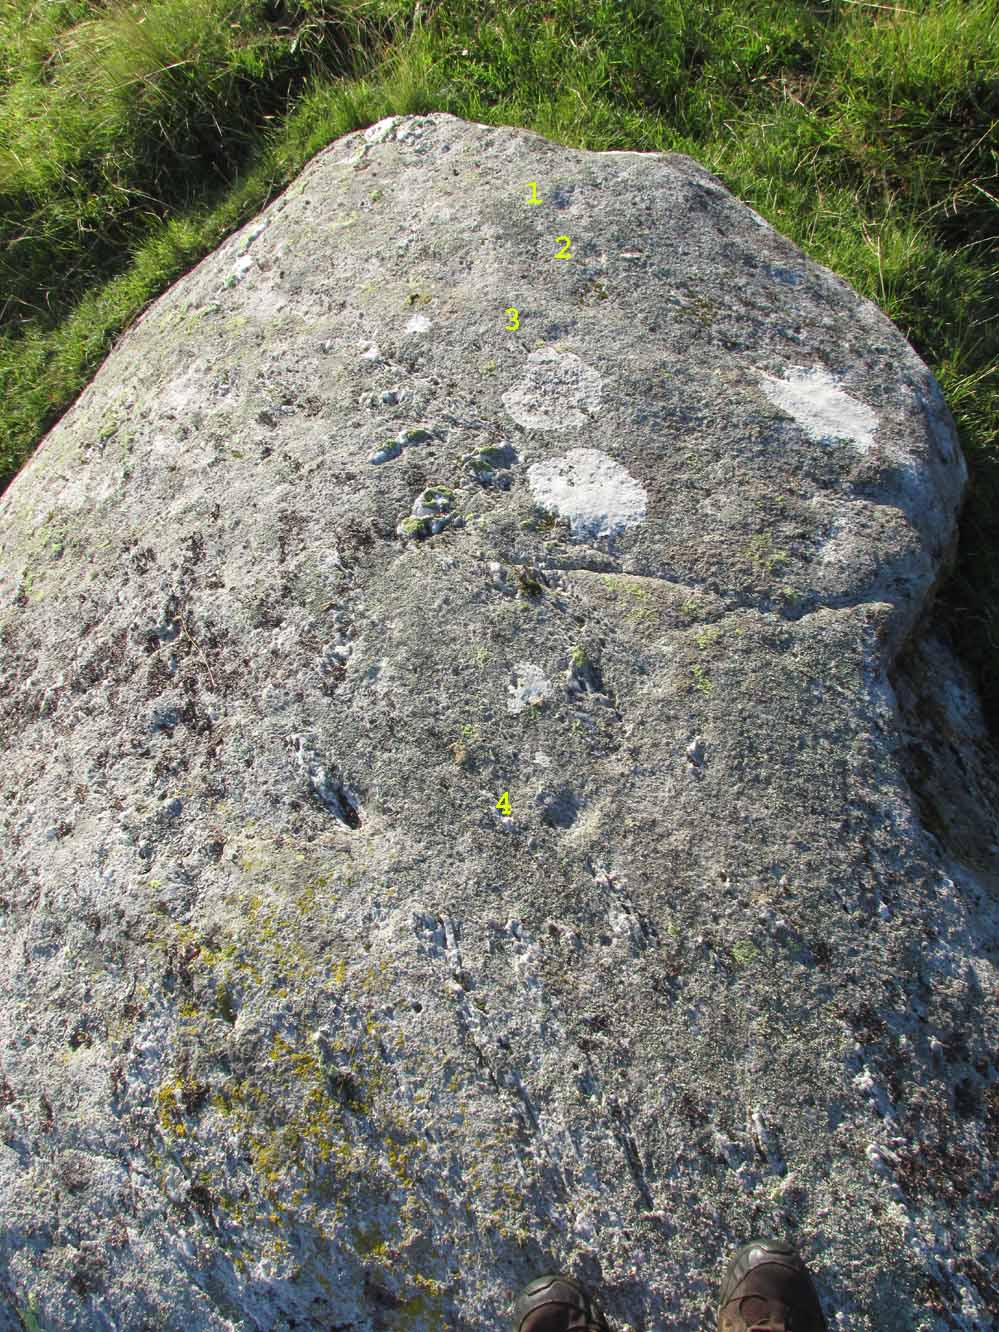
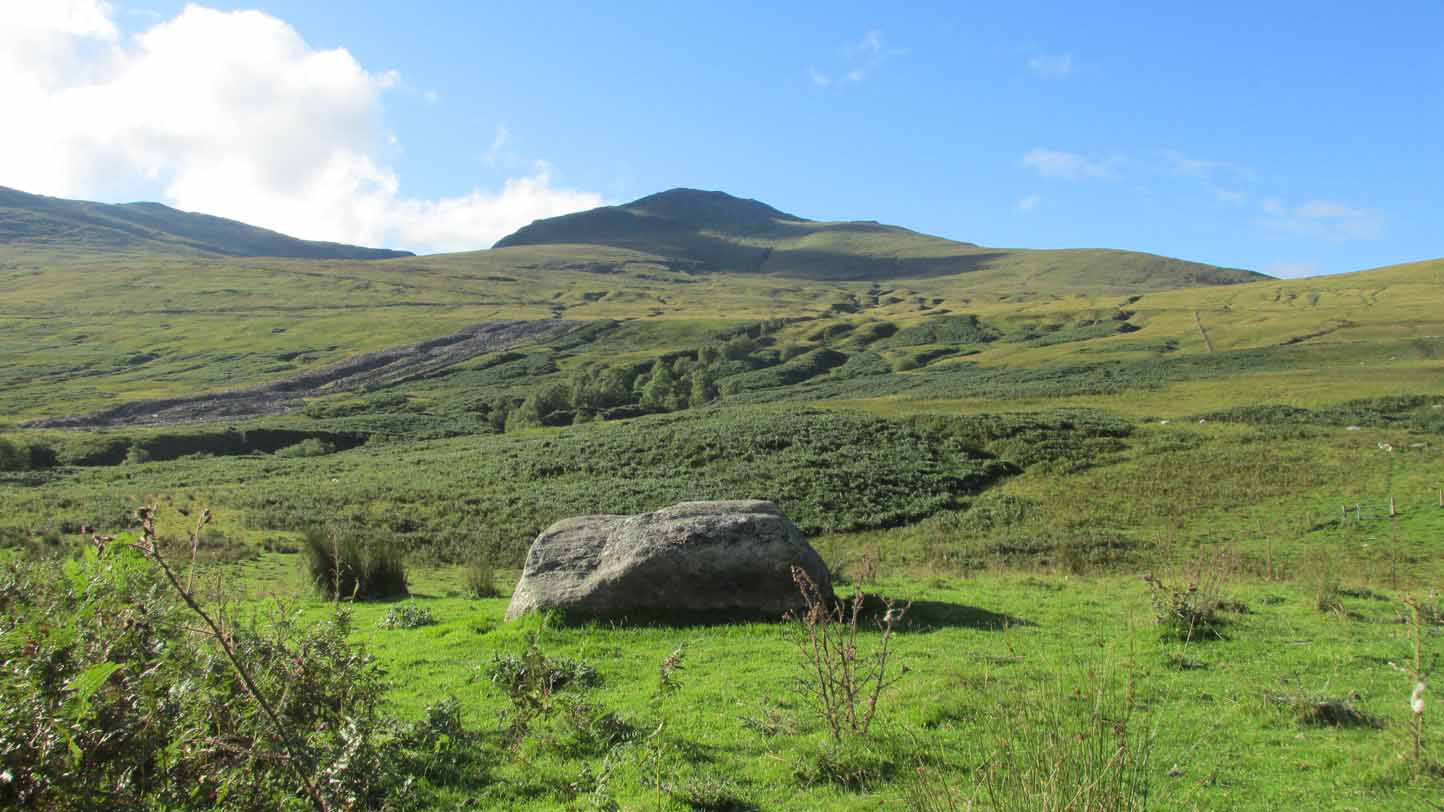
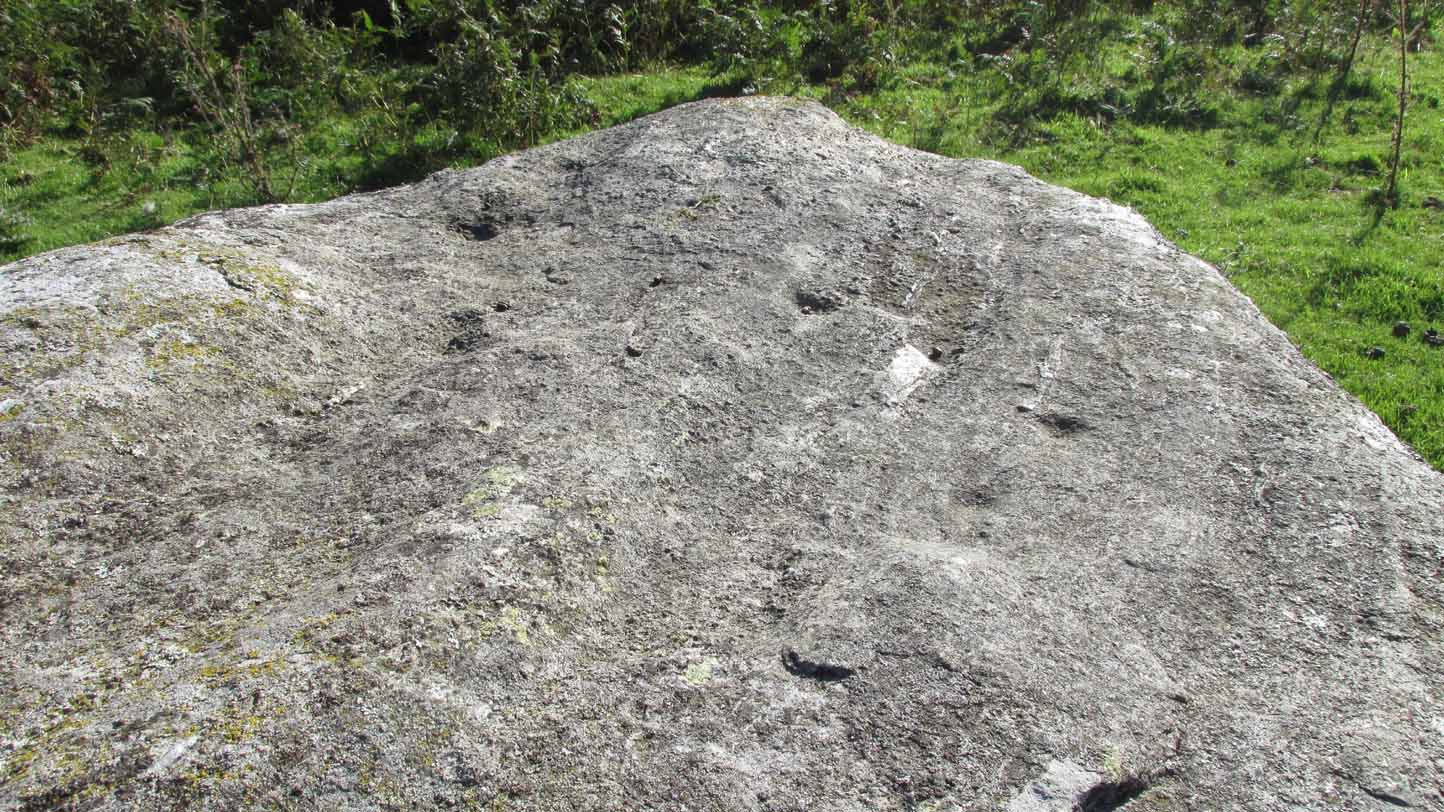
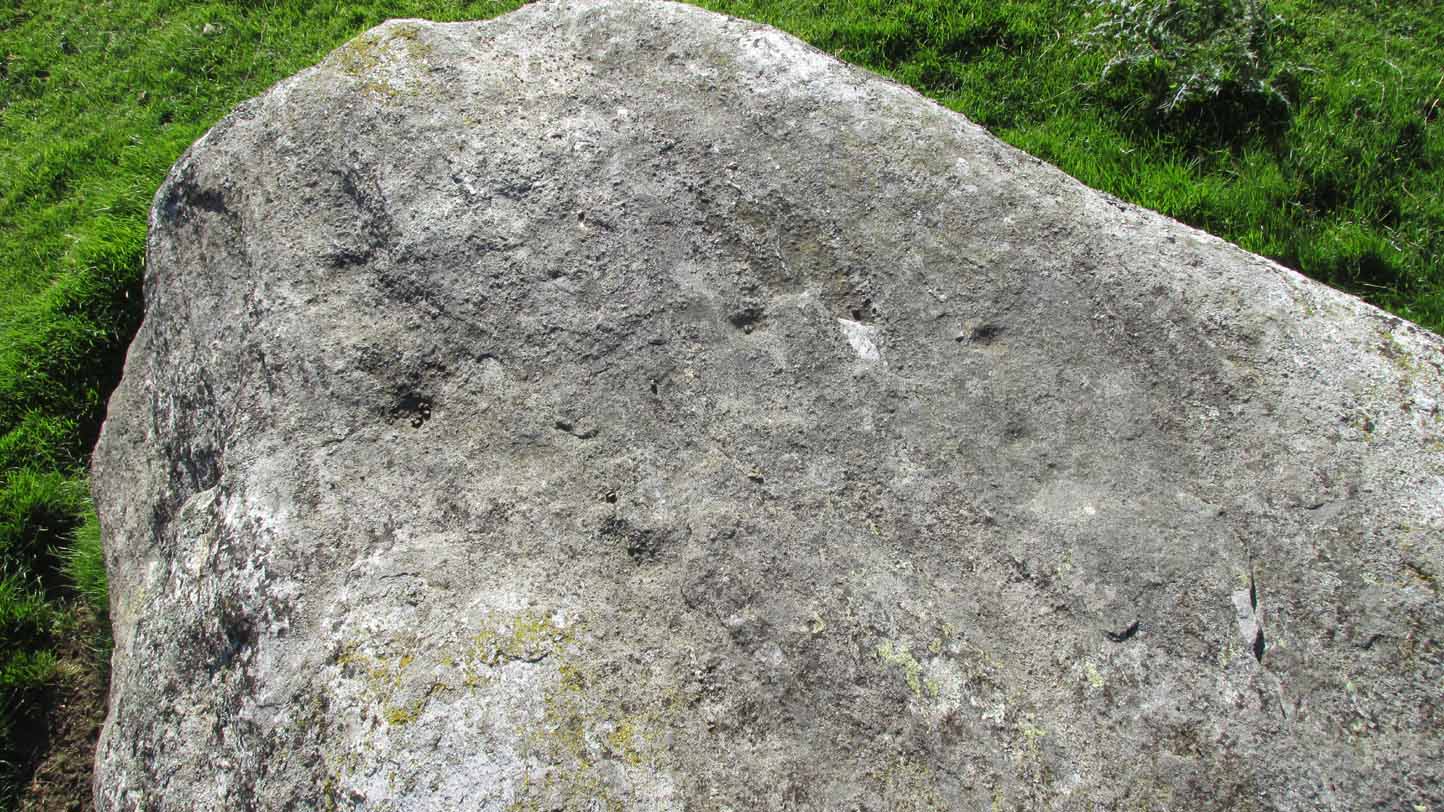
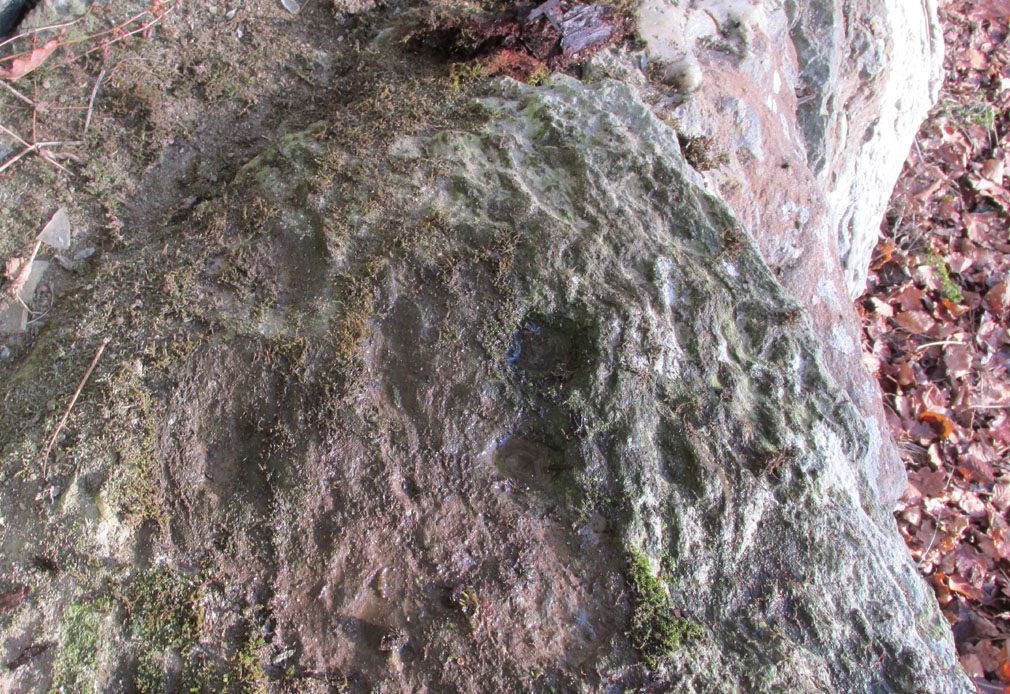
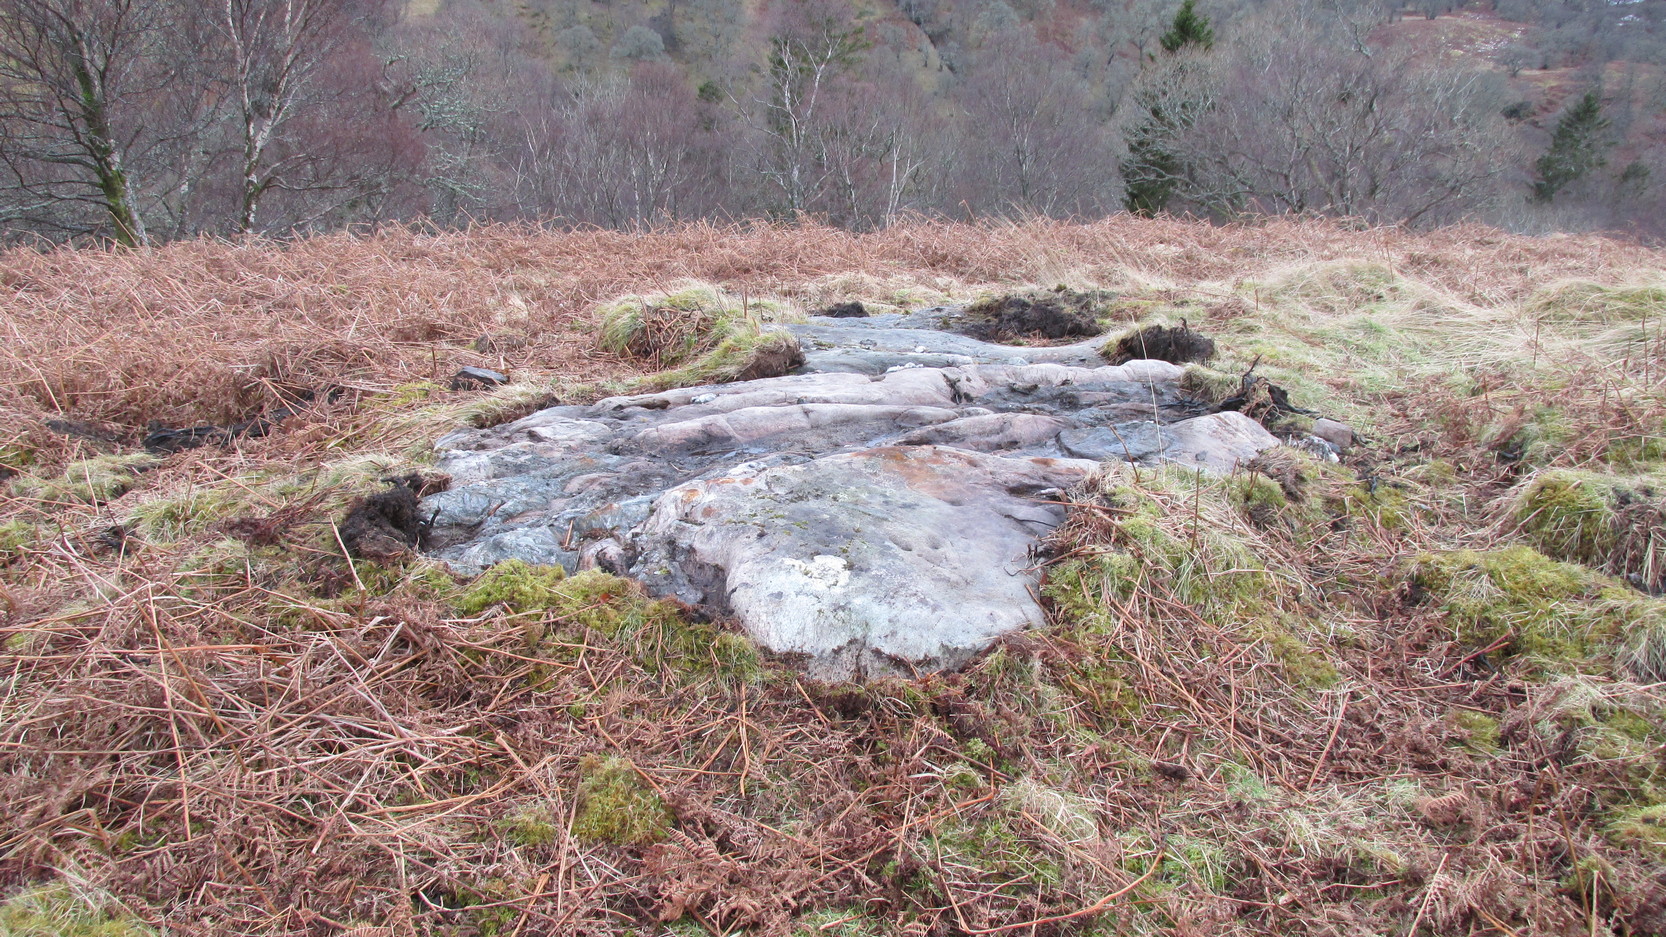
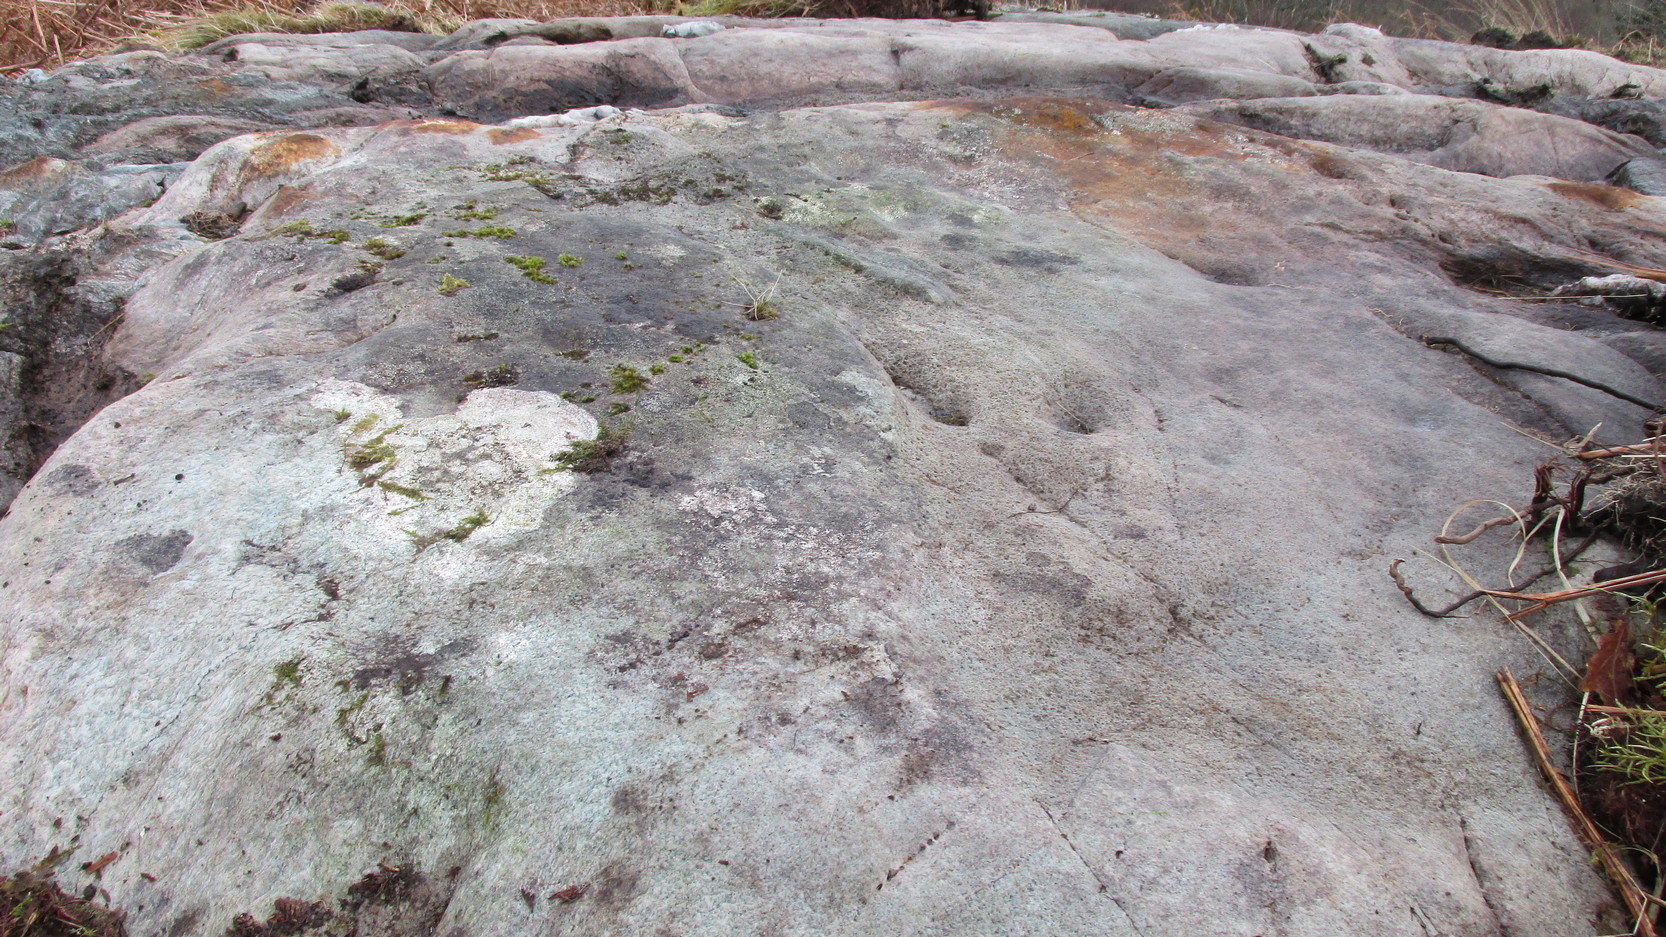
As with the other carvings up here at Balnasuim, there is little to look at unless you’re one of the ardent petroglyphic crazies! On this small rounded stone, cushioned beneath the skylines of Ben Lawers and Meall Odhar, are at least three cupmarks in a rough arc running from the northern part of the stone, with the most pronounced of them being close to the northern edge of the rock. The others are very shallow and can be difficult to make out in poor sunlight. A possible fourth cupmark with a short protruding line may exist close to the SE part of the stone. The Balnasuim (2) carving is 305 yards (279m) to the NE.
© Paul Bennett, The Northern Antiquarian